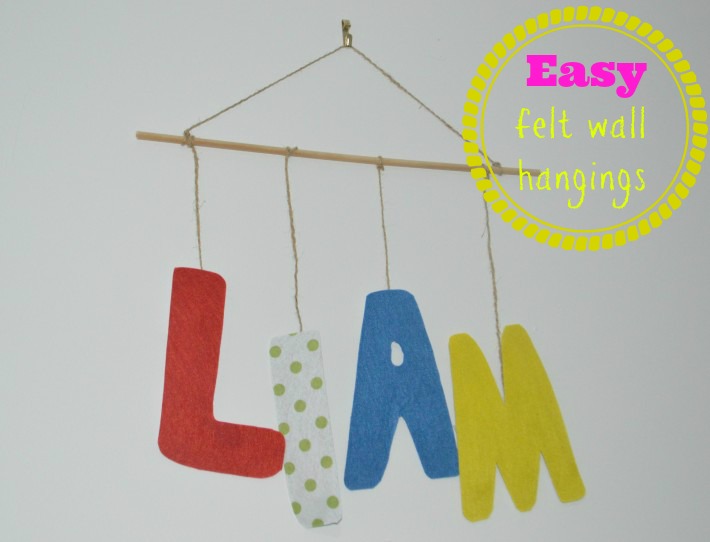
All too often I see something in a store, online or in a magazine and think – I could make that! Most of the time, life gets in the way and as time passes, my inspiration (and confidence) fades. However when I came across a picture of a cute felt wall hanging, straight away I knew it was something I could recreate. I was so confident I headed off to Lincraft the next day for supplies, thinking it would be a great addition to the bare white walls of our study. This is super easy to make, and is a great activity to work on with your kids.
You will need:
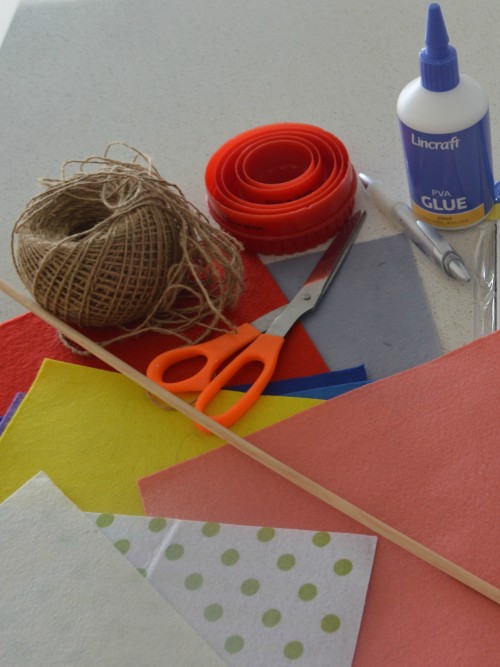
- At least 4 pieces of felt – depending on how many colours you want to use.
- Empty cardboard boxes eg: cereal/nappy box
- Round cookie cutters
- A pencil
- Scissors
- Craft or PVA glue
- Kitchen String
- 45 cm piece of wooden dowel
- Masking tape
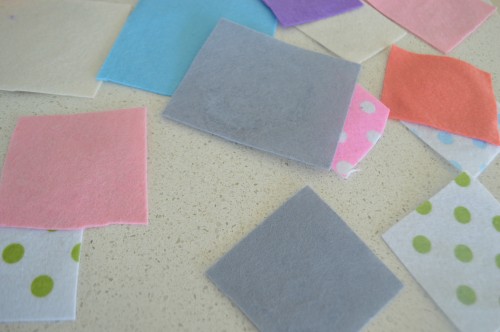
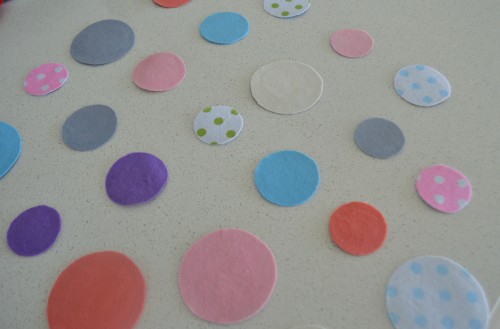
You need to create 24 felt circles of various sizes. The easiest way to do this is to trace the shape of a circle onto pieces of cardboard using round cookie cutters -you could also use a glass or any other round object if you don’t have any cutters.
When you have cut out the cardboard circles, stick them onto the felt using a small amount of glue. Allow the glue to dry, as you want the felt to be firmly attached before the next step.
Next you need to cut the circles out, using the cardboard as a guide. If you cut away the excess felt first, you will find it much easier to cut out the circles. Be careful not to cut into the cardboard!
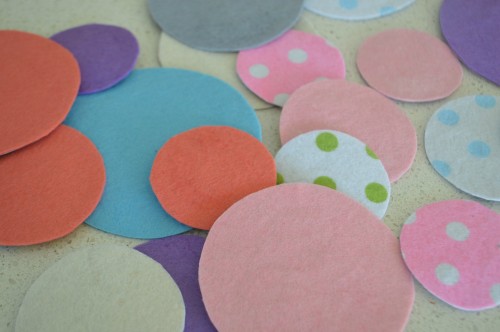
Now for the fun part. You need to arrange the circles into five rows – 2 rows of 4, 2 rows of 5 and 1 row of 6 circles. Lay them out in front of you and have a play around with different colour combinations until you are happy with the look. Then cut five lengths of string approximately 50cm long.
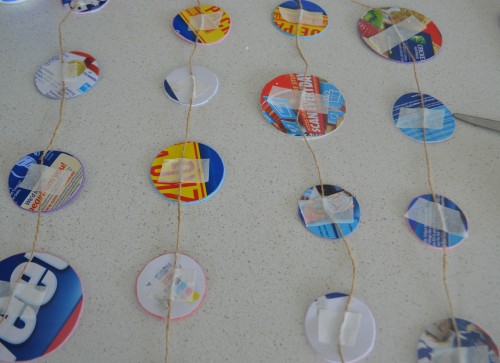
Turn the circles over and using a piece of masking tape, attach the string to the circles.
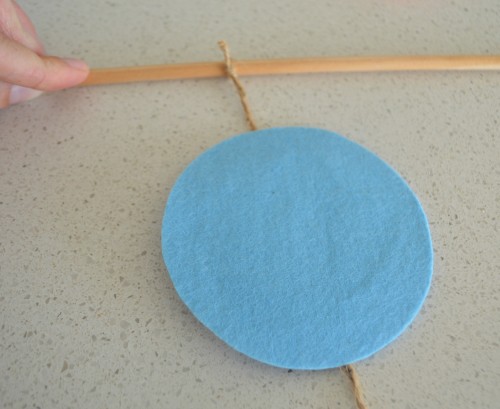
You now need to attach the lengths of string to the wooden dowel. Start by attaching the length of string with six circles to the middle of the piece of dowel. Working outwards, attach the lengths with five circles on either side, and then the two lengths with four circles on the ends. Cut away any excess string.
You’re almost there now! So you can hang your wall art, tie a piece single piece of strong approximately 60cm long to each end of the dowel. You are now ready to hang your creation!
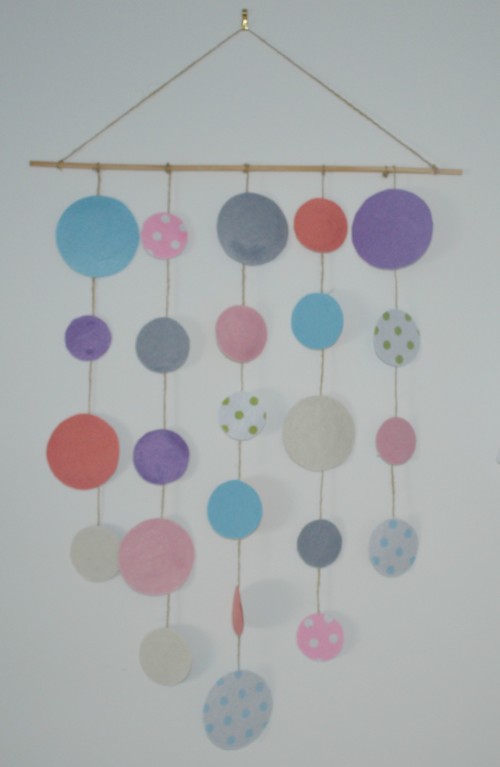
This is such an easy (and cheap) way to create decorations for your home. The design possibilities are only limited by your imagination. Why not try using different shapes, letters or numbers. I have also made wall hangings for my boys rooms which not only look great but would also make a great present for a new baby!
You can read more by Lauren on her blog Create Bake Make or follow her on Facebook