
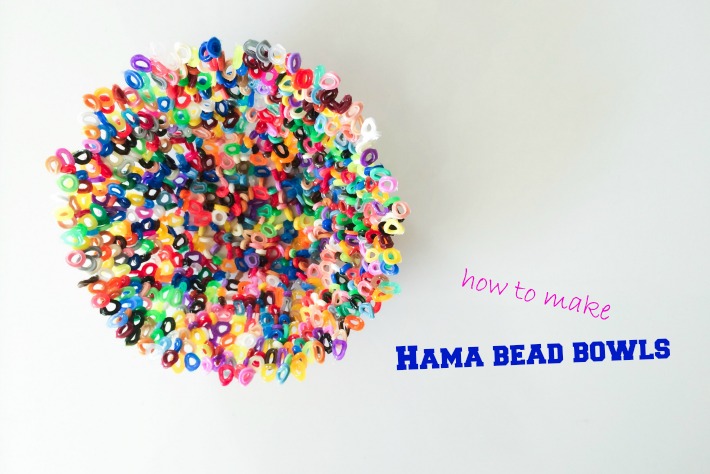
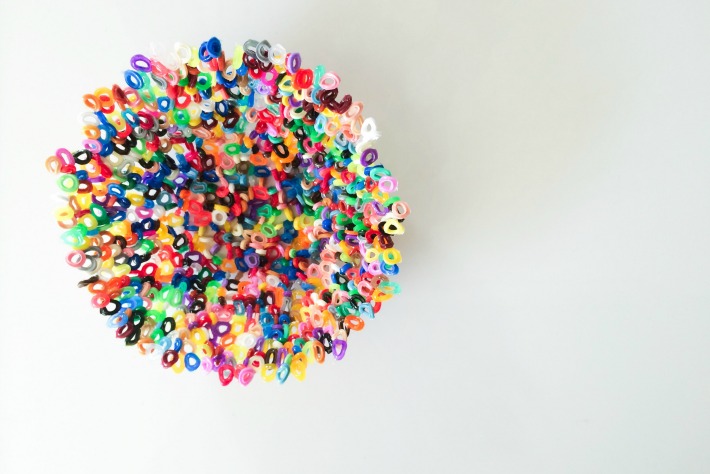
It was that moment I was thinking “holy sh*t… it is a few days until my mum’s birthday & what DIY gift can the kids & I whip up…” Yep, that last moment panic kind of feeling. It just so happened that I was browsing my good ol’ Pinterest news feed that I happened to stumble across this amazing idea of making bowls out of Hama beads. Kind of fitting, really, when I think that I grew up on these little beads & plastic boards. If you are interested, you can find the original design & idea here.
And so, it began… I ordered Hama beads, with guaranteed next day delivery. These bowls literally took 10 minutes to make. They are SUPER easy, & are the best present, EVER! Mum loved it! And we even wiped up one for my auntie, a friend… & just a few extra to keep for future presents.
1. Preheat the oven to 200 Degrees.
2. Find some bowls that are oven proof & can withstand over temperature. Don’t worry about size, but the size of the bowl will obviously replicate the size of your Hama bowl
3. Line your bowl with oil. Don’t be shy, make sure you give your bowl a good paint over with whatever oil you have in the cupboard.
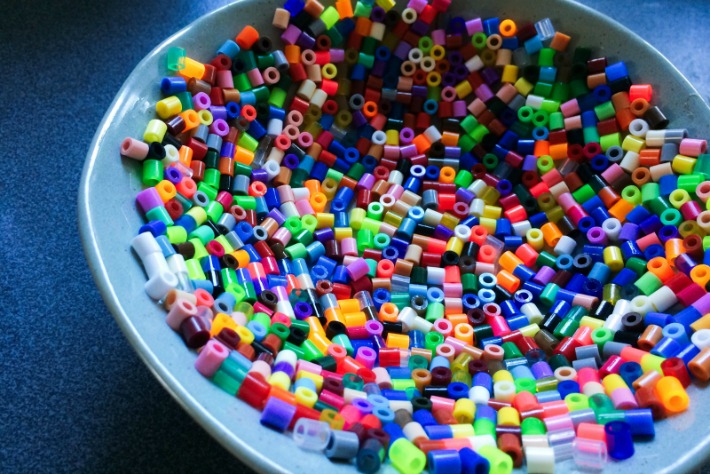
4. Start placing your beads in the middle and pressing down. After a couple of trial-&-error attempts, the best way I found was to simply place the beads in the centre of the bowl & push them down. The motion will naturally force the beads up the bowl.
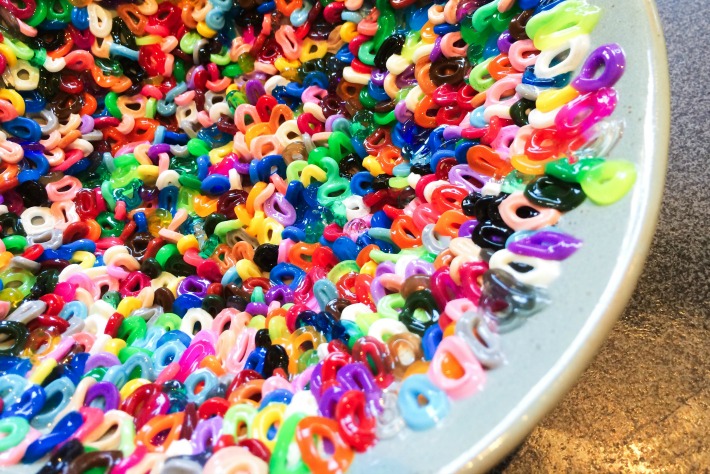
5. Continue this process until the bowl is covered with beads. Make sure they are all flat & that there are no big gaps in between.
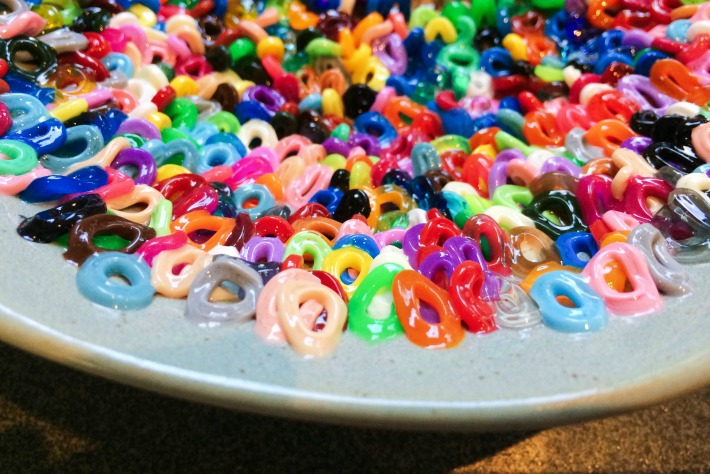
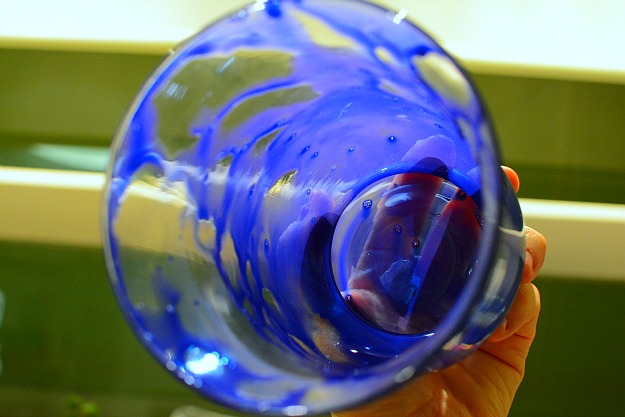
6. Put your bowl in your preheated oven & just watch. Keep an eye on the bowl ALL THE TIME. Once the beads start to melt, they melt pretty quickly. You want to make sure the beads have melted but have still retained some sort of shape & form.
7. Once done, take the bowl out & let cool. Once cooled, push the bowl out. If it is a little hard, carefully scrape off with a knife.
Do you have any Hama bead creation ideas….?
Linking up with Essentially Jess

Pingback: lrg jeans()